Things you should know about solar streets light installation

Sally Liu
Introduction
Solar street light is an environmentally friendly and energy-saving street light that uses solar light sources to convert into power sources. Because environmental protection does not consume energy and is easy to use, solar street lights are now being used in many places. We all know that it is easy to use and works well. I know what kind of work this effect brings. So how are solar street lights installation? What problems should be paid attention to before installation, and what maintenance should be done after installation? Today, 50w split solar street light supplier will describe these three aspects separately. Let’s take a look!
Commissioning Requirements Before Installation Of LED Solar Street Lights
Inspection Of Solar Lamp Components
Before the solar street lights installation, we must first check the various components of the solar street lamp to confirm that it can be put into use without errors, to ensure that there will be no major errors after installation, and if there are problems, we will deal with them in time.
Time Control Function Setting And Debugging
It is more important to debug before all in one solar street lights installation, and the length of time in the process of use is also very important. We cannot ask solar street lights to be carried out during the day For lighting, it is the time to absorb the light source and charge it during the day, and it is the lighting time at night, so the time adjustment is still necessary, so we need to set the daily light-off time according to the design plan.
The time control node can be set according to the instructions of the controller. The lighting time every night should not be higher than the value in the design process, and can only be equal to or less than the design value, otherwise, it will affect the lighting and reduce the service life.
Debug The Light Control Function
The light control function is the key factor that determines whether the solar street light is bright or not. When it is debugged, it means that the light control open function is normal, and if it cannot be lighted, it means that the light control open function is invalid. In this case, we need to check the settings. If it is said that after wiring in the daytime, you can use opaque objects to block the light-facing surface of the battery assembly (or remove the battery assembly wiring on the controller), according to the controller manual.
The delay time depends on whether the solar street light source can automatically light up after the corresponding time. If it is unavailable, check and debug again. If it is normal, remove the solar battery module’s covering (or connect the battery module power cable to the controller). The light source can automatically turn off, indicating that the light control-off function is normal.
Detection Of Lithium Battery Equipment
In addition to the above, the battery test is also very necessary. If the battery does not reserve power, then problems will occur during use, which will affect the use. So after debugging the solar street light controller, we need to test the lithium battery and other equipment Perform another simple test to see if the light source can be lit. To avoid the completion of the overall installation, it is found that the lamp cannot be turned on, and then maintenance is a waste of time and cost.
Lithium Battery Solar Street Light Accessories Inspection
In addition to the main components of the solar street light, the accessories also need to be checked. We have to see that the internal fittings of the solar street light fixtures must be tightly inserted and firmly inserted to avoid failure caused by loose wind swings and poor contact. The pole, light pole, and cantilever are reliably fixed. Only in this way can the complete performance of the equipment be ensured, so as to ensure the normal use of LED solar street lights.
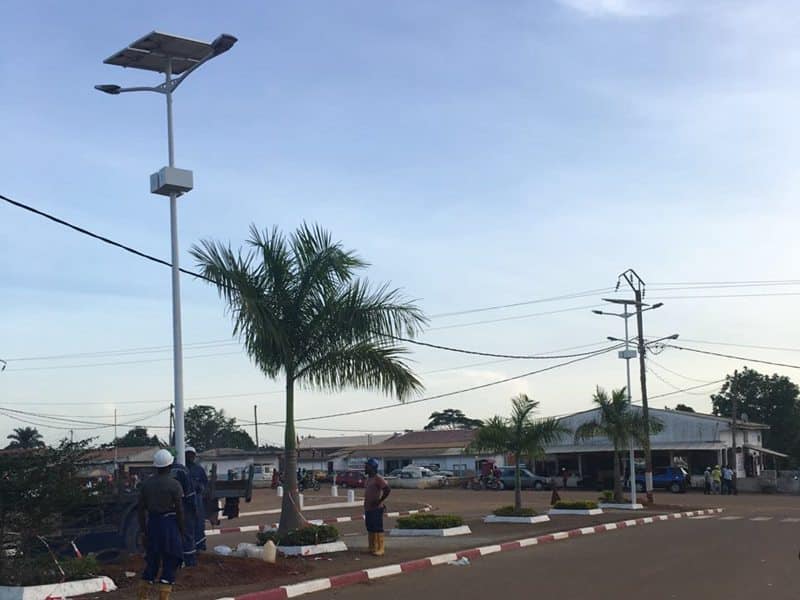
Precautions For Debugging Before Installation Of LED Solar Street Light
- Before the solar street lights installation, you should pay attention to the comprehensive inspection. Whether it is the various components of the lamp or solar street lamp, or some accessories, small parts, etc., you must check to ensure that it is correct, and then debug and install.
- Pay attention to safety during commissioning, especially personal safety. Wear protective measures such as hard hats and gloves to prevent accidents.
- Pay attention to the tools that are ready for use during installation and commissioning. Tools are very important. Only when the tools are in place will they be more conducive to people’s work.
The above are all the requirements and precautions for the pre-installation debugging of solar street lights. During the pre-installation debugging, we must pay attention to checking to ensure that they are correct, and then the components, accessories, batteries, light control functions, and time control of solar street lights The function can be adjusted to ensure normal use after installation.
How To Install The Solar Street Light?
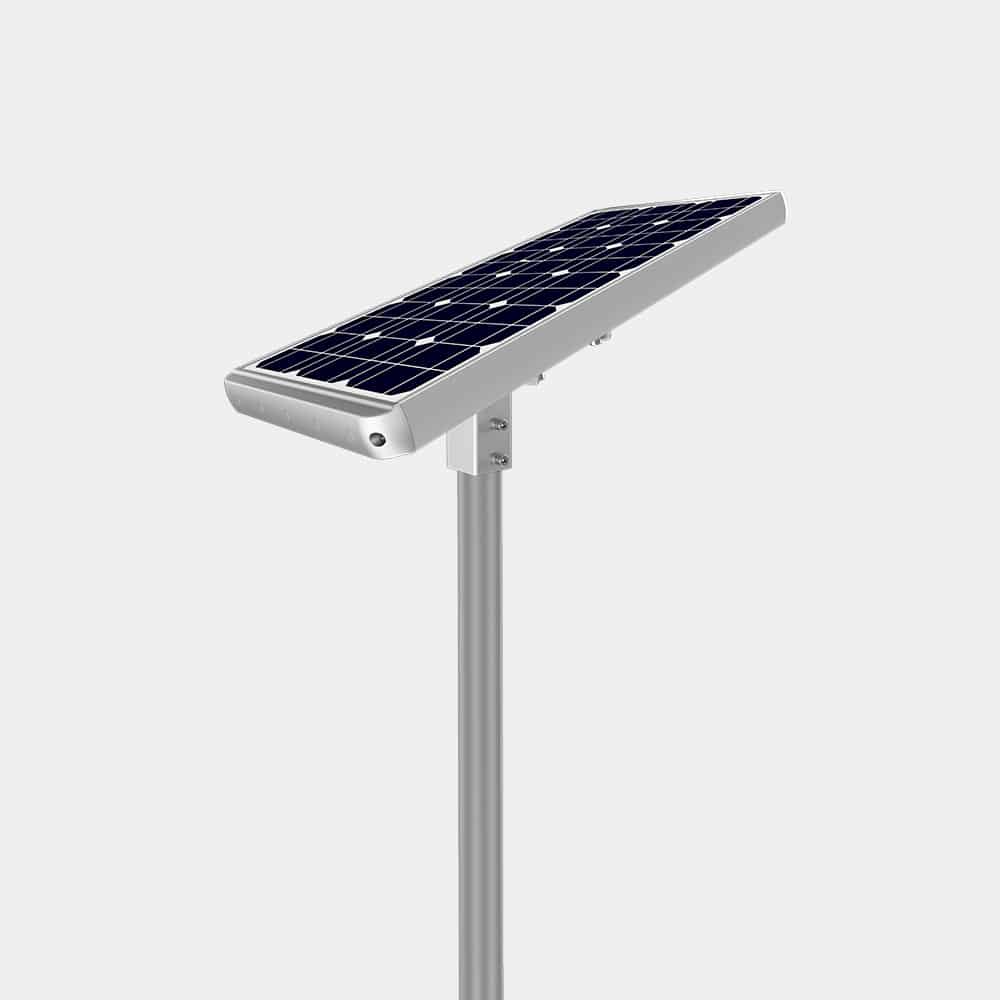
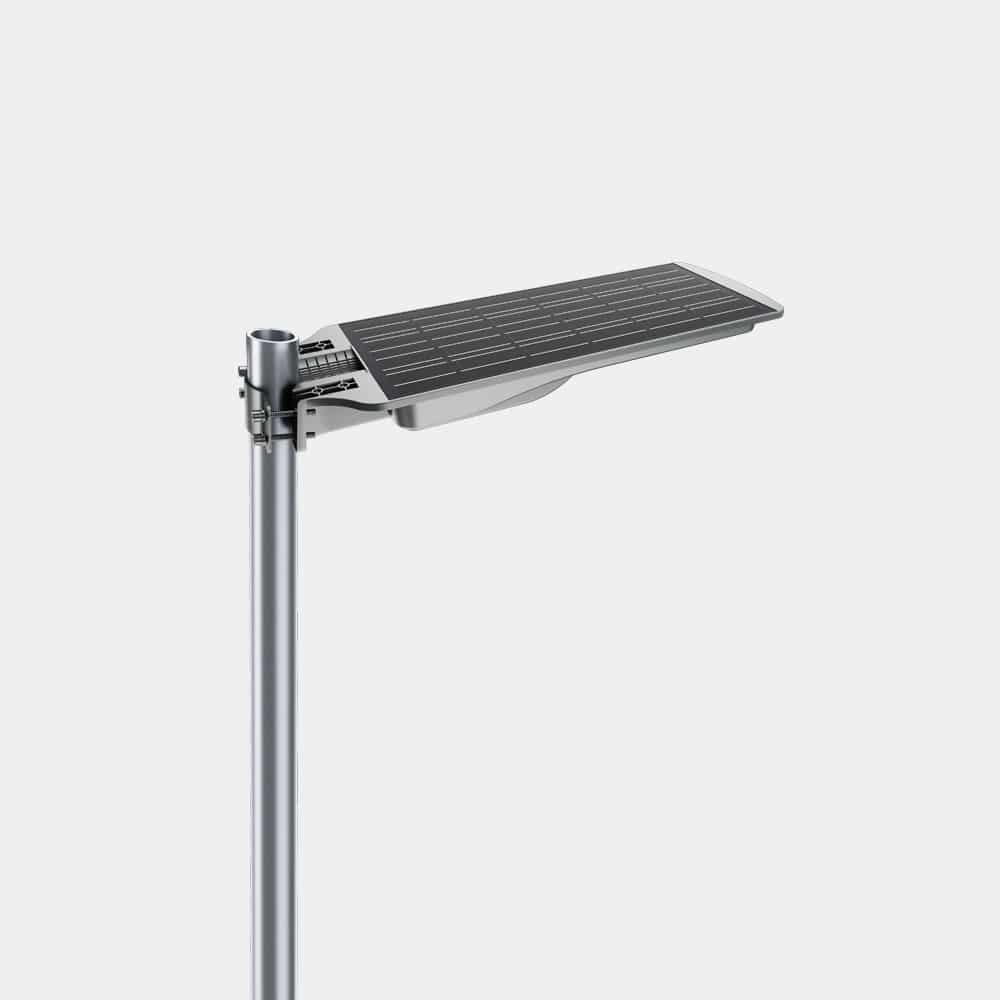
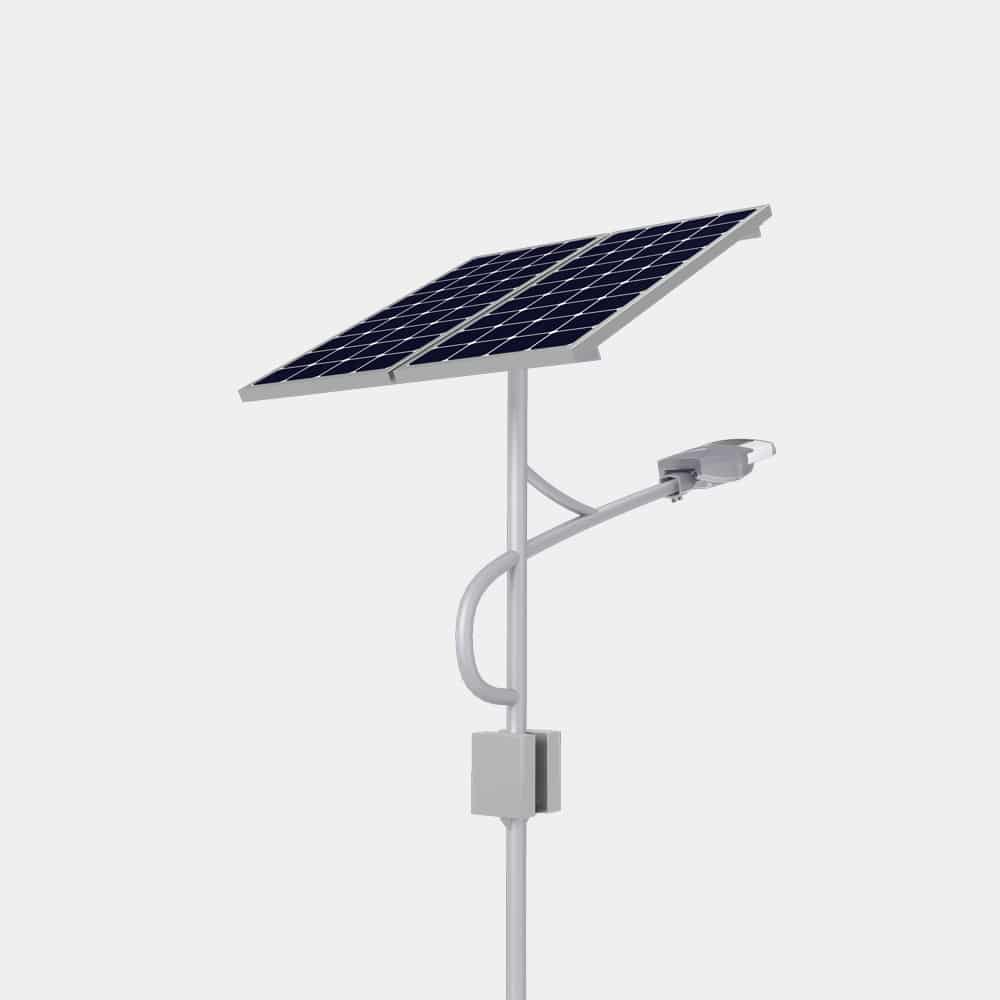
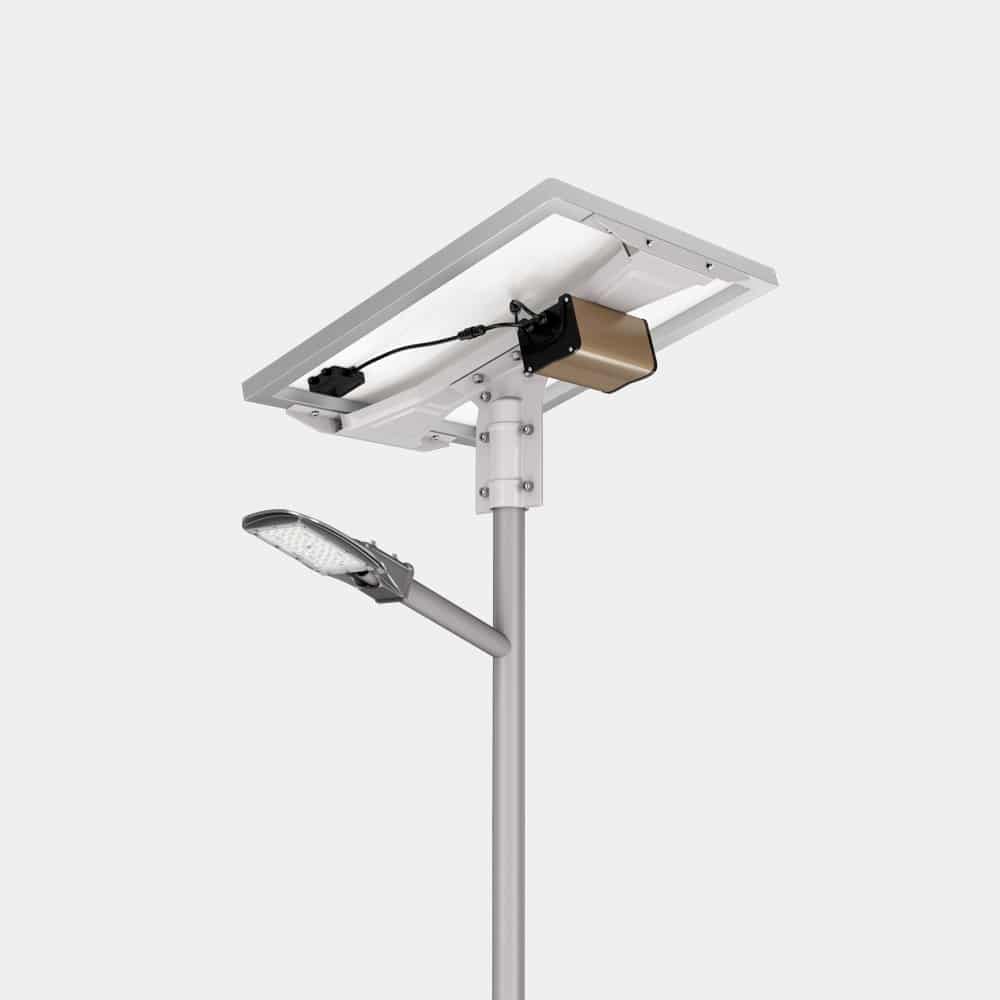
Solar street lights are divided into split solar street lights and integrated solar street lights. Split solar street lights refer to solar panels, batteries, LED lights, and solar control installed in different parts of the light pole. Integrated solar street lights refer to solar panels, batteries, LED light and the solar controller are designed as a whole unit. Today we will take PV2 all in one solar street lights as an example to guide how to install them.

Three Steps Of Installing All In One Solar Street Light
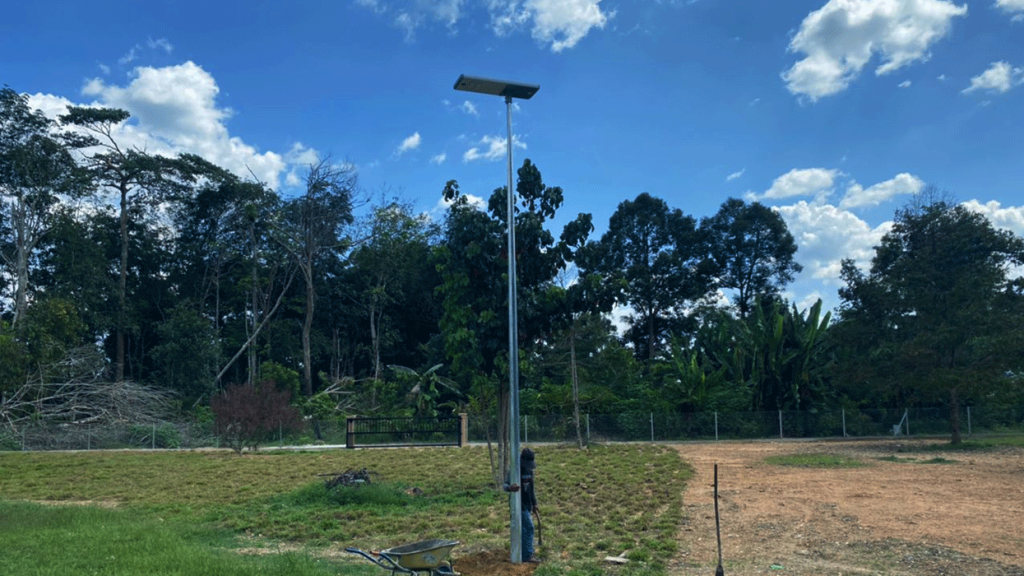
Step 1: As shown in Diagram1, with the four M8x50 screws and four M8 spacers to fix the support base onto the light body. Tighten the four M8x 50 screws with a 6 mm Allen wrench.
Step2: As shown in Diagram2, cover the base into the pole. Adjust the fixture to the correct exposure point of view and then tighten the eight M8x50 screws.
Step3: Adjust the mounting bracket to a right angle, twist the toggle switch to the side of “-” to realize the normal operation of light.
Solar Street Light Maintenance

Taking PV3 solar integrated light as an example, PV3 adopts a drawer design. When the lithium battery fails or needs to be replaced at the end of its life, it is only necessary to unscrew the two screws of the back head, and then pull out the lithium battery like a drawer.
The connector can be directly replaced with a new lithium battery; similarly, the solar controller and the LED module can be directly pulled out from the outside to replace the new parts, which is very convenient. In addition to maintenance in case of failure, solar street lights generate electricity through solar energy, so regularly clean the dust for the solar panels to ensure that the power generation efficiency of the solar panels is maintained at a high level.
Video of LED Solar Street Lights
FAQ
Author

Sally Liu
Sales Engineer
Possessing more than 10 years of experience in street lighting solutions. English and Spanish language proficiency.
